
Waco Suspension Bridge: Industrial Elegance Over the Brazos River
Spanning the Brazos River in central Waco, the Waco Suspension Bridge is both a historical landmark and a visually rich location for photographers drawn to symmetry, structure, and reflective water scenes. Completed in 1870, this wrought iron and steel structure was the first major suspension bridge in Texas, originally serving cattle drives along the Chisholm Trail. Today, the bridge is a pedestrian-only pathway framed by ornamental towers and taut cables, offering clean lines and a unique juxtaposition of industrial design against the natural elements of the river and sky. The surrounding parklands and riverwalk trails enhance its photographic potential by adding texture, depth, and diverse shooting angles.
Best Photography Opportunities
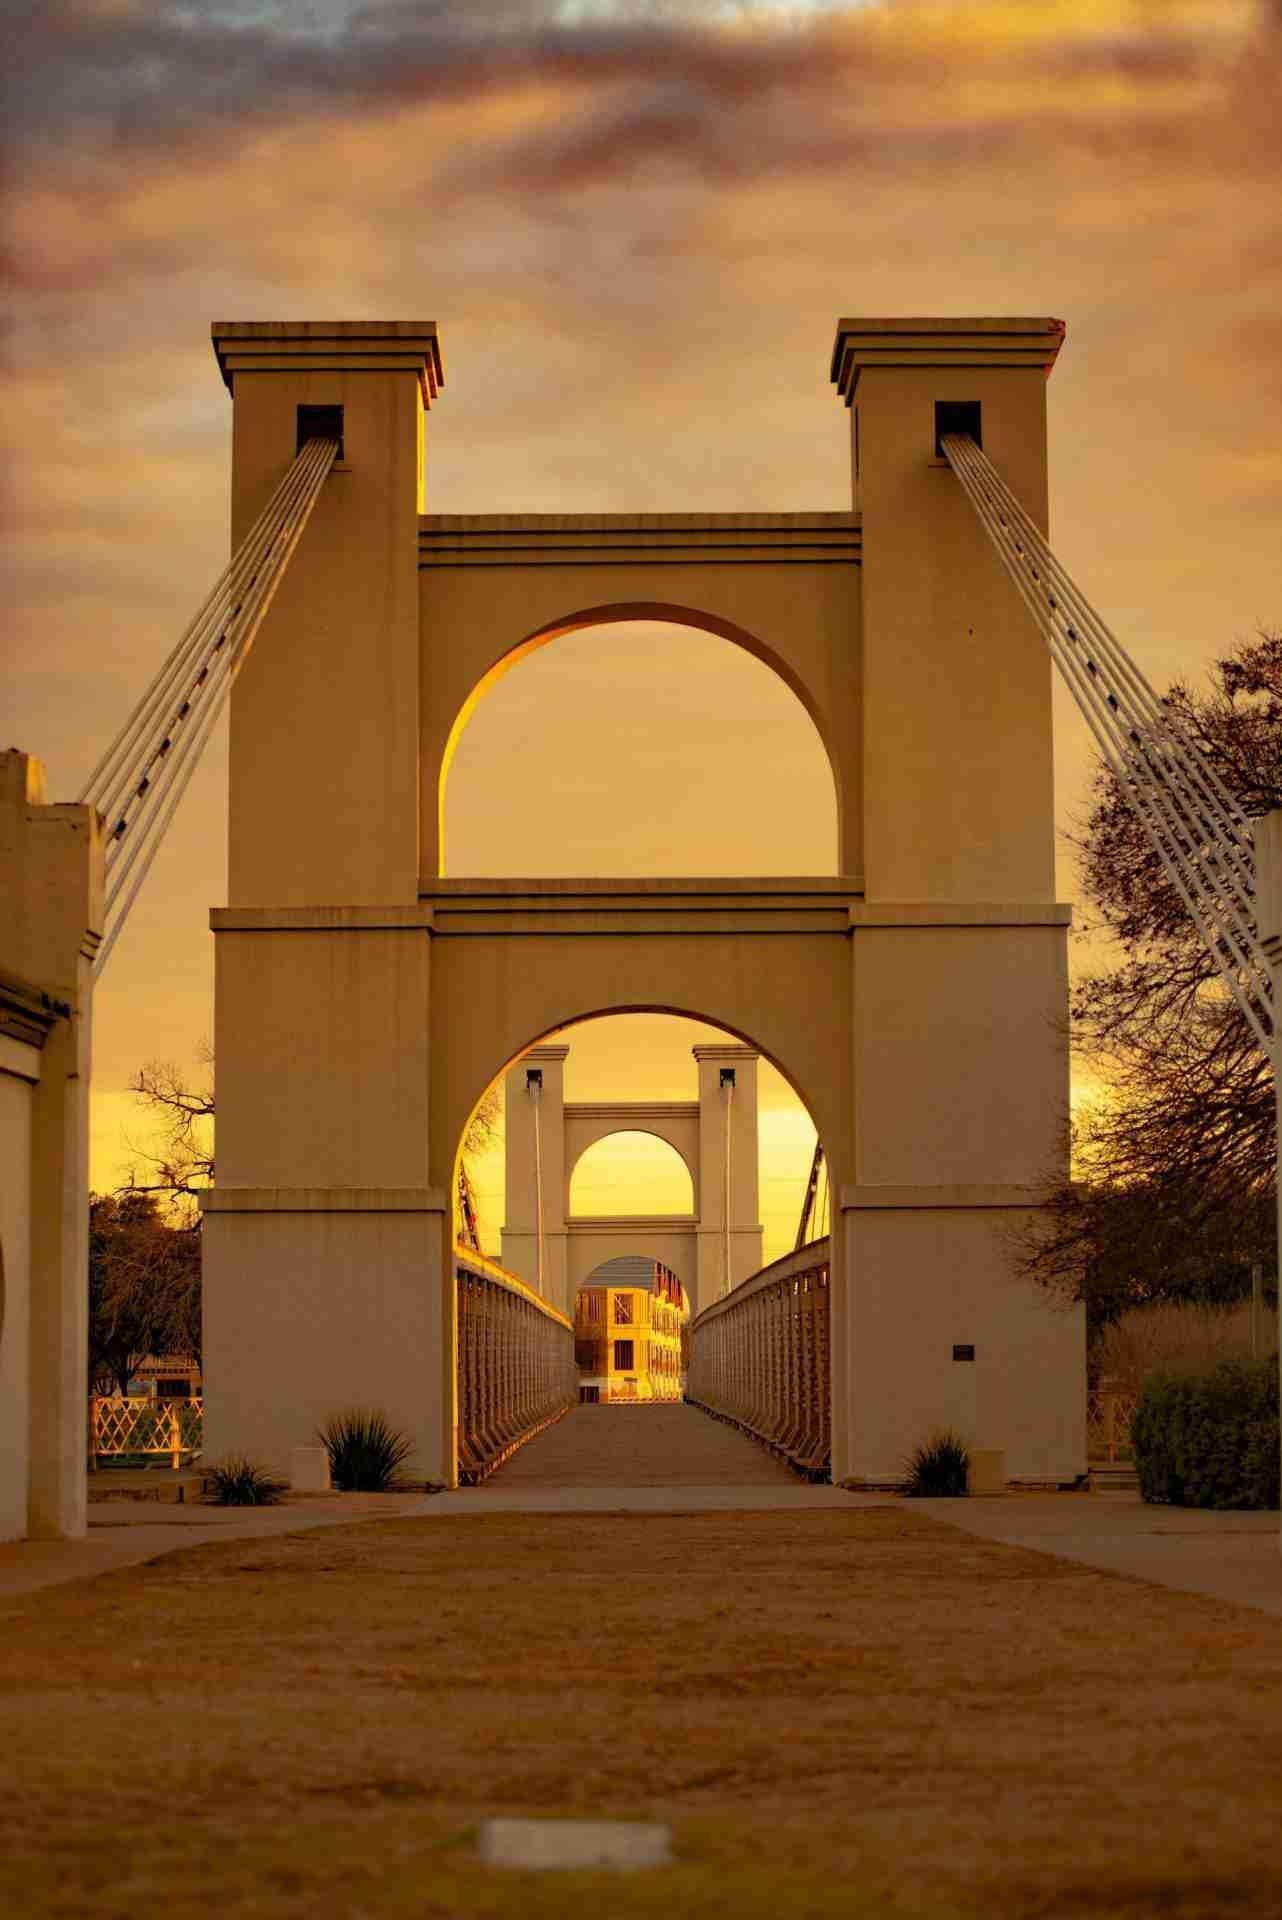
• Central Axis Symmetry and Depth from the Bridge Entrance
Photographing from the exact centerline of either entrance to the Waco Suspension Bridge gives you a masterclass in linear geometry. The steel cables create elegant converging lines, while the deck's wooden planks stretch forward in rhythmic repetition. A wide-angle lens (14–24mm) exaggerates this sense of depth, especially when shot from a knee-level or ground-level perspective. In the early morning, backlit mist rising off the Brazos adds an atmospheric veil to the vanishing point. During overcast days, even lighting emphasizes form and line without distracting highlights. For clean architectural symmetry, use a tripod and bubble level, and correct minor distortions in post-processing. Bracketing exposures allows you to capture detail in both the darker deck shadows and brighter sky beyond the arch. Include a lone figure walking away in the distance to subtly introduce scale without breaking the symmetry.
• Reflections and Structural Silhouettes from the Riverbank
The Brazos River, when still, becomes a mirror that transforms the suspension bridge into a floating lattice of shadow and light. Scout from both banks—Indian Spring Park on the west or Martin Luther King Jr. Park on the east—for a low vantage point near water level. Early mornings are best for still water and misty ambient light, while golden hour reflections create vibrant contrast between the river's cooler tones and the bridge's sun-warmed cables and towers. With a 70–200mm telephoto, compress the scene and align the bridge with its reflection, using the riverbank as a natural horizon. Shoot at f/8 to f/11 for optimal sharpness and reflection clarity. Long exposures (15–30 seconds) with an ND filter smooth ripples and enhance symmetry. In post, lift shadows in the reflection slightly to reveal fine structure, but retain a gentle roll-off to preserve visual softness.
• Textural Close-Ups of Rivets, Steel, and Stonework
Move in tight to document the tactile language of the bridge—wrought iron beams oxidized to warm browns, stone pylons etched with weathered graffiti, and timber decking worn smooth by decades of foot traffic. A fast prime (35mm or 50mm) or macro lens opens up a world of detail often overlooked. Frame a cluster of steel bolts where sunlight casts angular shadows, or isolate a section of hand-hewn stone in golden side light for maximum relief. Shoot at f/2.8–f/4 to shallow the depth and abstract the subject into form and texture. Midday lighting, typically avoided, is ideal here: harsh light exaggerates grit and grain, making black-and-white conversions more dramatic. Consider using a handheld reflector or small LED panel to add fill to deeply shadowed cavities, giving dimensionality to otherwise flat stone or metal.
• Tower Isolation and Compressed Perspectives at Golden Hour
At sunrise and sunset, the bridge towers become sculptural elements rising from a soft-toned landscape. From the east bank in late afternoon, the setting sun bathes the western tower in amber light, revealing intricate surface texture and cable connections. Use a telephoto lens (135–200mm) to isolate just the top third of the tower against the sky, or frame both towers in compression with a wide aperture to blur the background foliage. Golden hour color temperature enhances contrast between warm stone and cool sky. Expose for the highlights and use a graduated ND filter or local adjustments in post to recover detail in the shadowed lower sections. If conditions are clear, shoot the tower silhouetted against a transitioning sky gradient—blues into golds—using trees or riverbank elements to create a natural border.
• Blue Hour Atmosphere and Nighttime Architectural Light
Once the sun has set, the bridge reveals a quieter mood, illuminated by discreet lighting along its towers and deck. The reflections of these lights ripple across the Brazos, creating a painterly surface ideal for long exposures. A sturdy tripod and remote release are essential—expose for 20 to 40 seconds at ISO 100–200 to retain sharpness and minimize noise. From the southeast trail, frame the entire span with its reflection, allowing ambient city light to fill the background. Blue hour light (20–30 minutes after sunset) provides a soft, even wash that complements the bridge's warm artificial glow. Compose with foreground anchors—like river reeds, lamp posts, or benches—to build compositional depth and context. A custom white balance between 3200K and 3800K often yields the best separation between cool sky and warm bridge lighting. Clean sensor and lens glass meticulously—small highlights will reveal every dust spot.
Best Time to Visit
The Waco Suspension Bridge is accessible year-round and rewards photographers with different moods depending on the time of day and season. Mornings provide the softest, most directional light for shooting symmetry down the bridge or reflections in still water. From late spring through early fall, early daylight often brings mist on the Brazos River, which adds texture and atmosphere to wide shots.
Golden hour—shortly after sunrise and just before sunset—is ideal for bringing out the warm tones in the bridge's metalwork and stone towers. These times of day also reduce pedestrian traffic, making it easier to shoot long exposures or clean, people-free frames. Autumn is particularly photogenic, as riverside foliage turns amber and contrasts with the steel-gray geometry of the bridge.
Blue hour (20–30 minutes after sunset) is excellent for moodier compositions and for capturing the bridge under its evening lighting scheme. Calm evenings often produce water reflections that are soft and painterly, while the ambient city light introduces subtle color shifts that can be accentuated with careful white balance.
How to Get There
The Waco Suspension Bridge sits at the heart of downtown Waco, easily accessed from University Parks Drive or Franklin Avenue. Free parking is available at Indian Spring Park on the west end or at Martin Luther King Jr. Park on the east side of the Brazos River. Both parking areas connect directly to paved walking trails that lead to the bridge.
The bridge is pedestrian-only and open at all hours, with no fee required for access. Riverwalk trails extend in both directions, offering opportunities to scout reflections and alternative angles. Lighting is minimal but sufficient for night photography with a tripod. Local public transportation stops nearby, and the site is walkable from most of central Waco.
Gear for Urban Structure and Reflective Light
A wide-angle zoom (16–35mm) is essential for capturing symmetry, full bridge spans, and immersive perspectives from the bridge entrance or below. Pair it with a mid-range zoom (24–70mm) for isolating elements or working the riverbank trails where flexibility in framing is crucial.
For reflections and detail work, a polarizing filter will help manage glare and enhance color saturation in both sky and water. A telephoto lens (70–200mm) allows you to compress perspective and pick out structural repetition, tower detail, or bridge textures at a distance.
Bring a tripod for any long exposure work, particularly during blue hour or night shoots. A remote shutter release or timed delay helps reduce camera shake. Gloves may be useful in winter, as the metal railings and tripods can become uncomfortably cold.
Comfortable walking shoes and a small backpack with lens cleaning gear, ND filters, and spare batteries will keep you mobile along the riverwalk and on the bridge itself. The area is relatively compact, so travel light to move easily between vantage points.
Nearby Photography Locations
: Just northwest of the bridge, Cameron Park offers wooded hills, limestone cliffs, and panoramic views over the Brazos. Elevated overlooks are ideal for sunrise and sunset compositions above the tree line.
: This historic building offers quirky Americana and industrial textures inside and out. Strong midday light casts shadows along brickwork and iron signage, perfect for architectural detail studies.
: A short walk from the bridge, this bustling market area features converted grain silos, string lights, and urban textures. It's a good location for lifestyle or editorial-style photography during golden hour.
: East of the bridge, this quieter riverside location offers clean reflections of the downtown skyline, great for twilight cityscapes or minimalist compositions with river textures.
: A 15-minute drive from downtown, this paleontological site features walking trails through wooded areas and natural light filtering into dig shelters—ideal for combining landscape with narrative history.
Comments
Loading comments…